Breaking Down a Machine Into Parts
Every machine can be broken down into individual parts.
For example, a simplified part breakdown of a 3D printer might be:
Frame
X, Y, and Z Axes
Extruder
Heated Bed
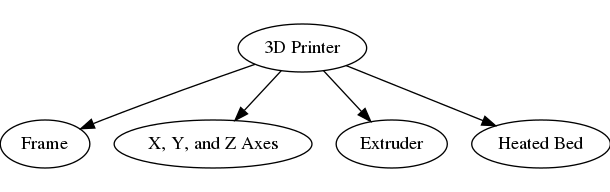
Simplified part breakdown of a 3D printer
Each of these parts usually correspond to buttons on the main toolbar of a workbench, and need corresponding icons.

3D Printer Workbench: Main Toolbar Buttons
Clicking one of these buttons adds the corresponding part to the user’s active document in FreeCAD.
Level of Breakdown
Do you need to include every part of a machine in the initial breakdown?
No.
For example, we excluded less-critical parts of the 3D Printer such as the controller, power supply, wiring, and spool holder.
Is our above simplified part breakdown still useful? Yes.
Thus, a workbench only including a simplified minimal set of core parts is useful.
In fact, to begin workbench development, definining the minimal set of core parts for the machine is recommended.
Define Core Parts
How do you decide on which parts to include in the minimal core set?
It’s helpful to identify a subject matter expert (SME) or Product Owner to assist in this decision.
Someone who’s knowledgeable about the machine, and what would be most useful to users of the workbench.
Start with the Minimum Viable Product (MVP), iterate, and come back to the other parts you left out in a later phase.
Deciding on the parts of a machine is not performed once and unable to change.
It’s an iterative process that occurs over the lifetime of a workbnech.
Next Steps
The next two steps in workbench planning can be performed in parallel: